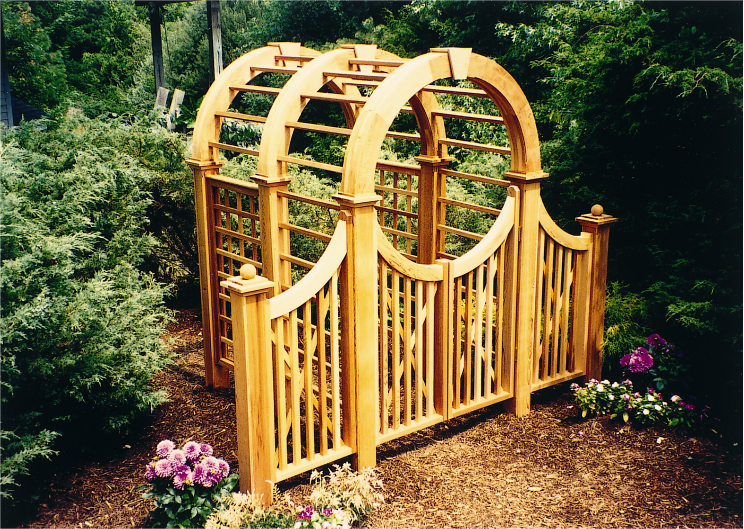
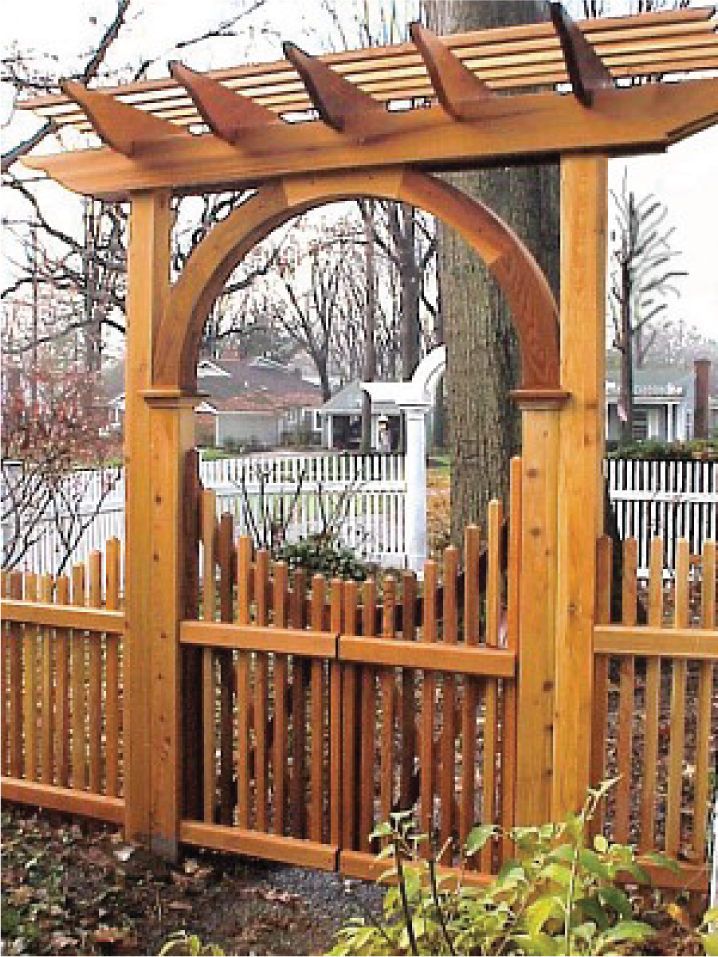
Our Gardenscape Garden Arbor, the prize of climbing rose/ivy growers everywhere, is one of our most affordable Garden Arbors. At under $350 delivered to your door, watch your roses, ivy or other climbing plants ascend the slats to create a one of a kind nature + wood Garden Arbor.
Have a question about a gardenscape idea? You've come to the right place. This blog is dedicated to helping you with your projects, whether they be in your garden, securing your driveway or providing a touch of class with one of our mailbox or lantern posts. Remember, we also do custom work and would love to work with you to help you realize your dream!
Thursday, December 20, 2012
Climbing Roses, Ivies will love the Gardenscape Garden Arbor
Our Gardenscape Garden Arbor, the prize of climbing rose/ivy growers everywhere, is one of our most affordable Garden Arbors. At under $350 delivered to your door, watch your roses, ivy or other climbing plants ascend the slats to create a one of a kind nature + wood Garden Arbor.
Tuesday, December 18, 2012
When A Garden Arbor is More Than A Garden Arbor
Peace, solitude, one quiet moment - we all try to find time for this in our day. It's healthy, everyone tells us this, but when are we supposed to make time for this relaxation? Our lives are filled already. Consider never having to leave the comfort of your yard for your own piece of heaven with a New England Woodworks Garden Arbor!

Monday, December 17, 2012
Your Driveway Gate - from Concept to Installation
Another Beautifully Installed Custom Driveway Gate . . .
But how do I get from concept and design to actual installation?
Sometimes preparing for Driveway Gates can seem like a daunting task.
How do I know what I need?
What do I need to measure?
What tools and supplies will I/my contractor need to hang the gate?
These are all valid concerns and we have developed the following checklist to help you in preparing for your Driveway Gate
DRIVEWAY GATES RECOMMENDATIONS:
The first consideration on installation of a driveway gate must be thought out before the gate is even ordered. New England Woodworks gates are the actual size of the gate, i.e., 14’ gate is within ½” of 14’ wide. However, because our concealed welded steel frame cedar gates are 4 1/8” overall thick, the gate needs a minimum of 1” clearance for “swing” room; to assure the 2 wings of the gate don’t hit the middle when opening. Also the ball bearing hinges welded to the steel frame are exposed, and the adjustable post hardware combined needs a minimum of 4 ½” on each side.
Therefore a 14’ gate requires a 14’ 10” minimum opening between columns. Using our decorative fluted or raised panel columns will add an additional 20” to the equation (for two 10x10 decorative columns). These sleeves allow for a pressure treated 6x6 or 6x6 steel foundation posts to be “inside” as the foundation post.
The minimum opening size now required for the above scenario is now 16’ 6” Which is A BIG DRIVEWAY, find a breakdown of the math below:
14’ GATE
10” HARDWARE/SWING ROOM
(2X) = 20” (2) TWO – 10X10 DECORATIVE COLUMNS
= 16’ 6”
Typical installation involves:
Doing the math “backwards” with the actual driveway dimensions available & selecting the appropriate size gate.
Determine the proper location of the “foundation” posts & digging the holes 5’ deep (below natural grade) (calling the local utilities & / or safe dig is required well in advance for “safe” markings.)
Place the foundation posts, in the holes and double checking calculations for proper alignment, secure posts in that location, plumb and straight. Use a suitable amount of concrete in and around the foundation posts to support the cantilever and wind effect the gate will load on the posts. Allow the concrete to thoroughly cure.
Several days later recheck calculations & confirm post placement and plumb. Slide decorative sleeves over foundation posts. Screw in place from “INSIDE” area of gate mounting location.
Hold gate in position and mark on columns location of gate hardware. Use of a laser level will confirm “parallel” placement of adjacent post hardware.
Hold adjustable gate hardware place in appropriate marked location and drill (4) four 5/16” pilot holes thru cedar sleeves.
Drill an 11/16” center hold for the J-Bolt pin with a 6” long paddle bit.
Drill (4) four ¼” pilot holes in wood foundation posts. (steel foundation posts will require special taps.)
Purchase 5/16”x6” galvanized or stainless lag bolts * use four (4) of these per gate hinge plate.
Re-install the ¾” J-Bolt Pins (provided with the New England Woodworks optional adjustable gate hardware kit). Screw to within 2-4 turns from all the way in.
Hang the gates on the J-Bolts and confirm 1” space in center meeting point of the 2 gate wings, that gates are level and same height in center as each other.
If above is not acceptable, one or both gate wings need to be taken off the J-Bolts and J-Bolts may be screwed in or out to adjust.
Subscribe to:
Comments (Atom)

